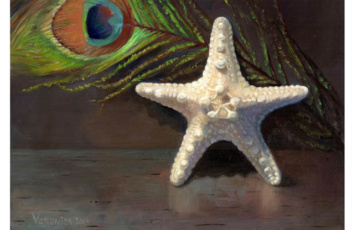
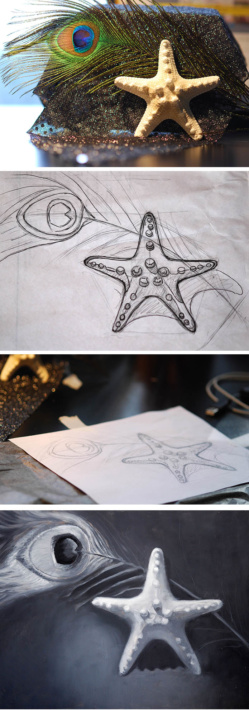
If you’ve tried painting, you know how hard it is to find a good set of brushes. Many of them are flimsy or too soft to spread the oil paint around. Cheap brushes can shed the hairs like a cat. They don’t keep the fine point necessary to paint the details in oil painting. I went through many artist brushes trying to find something that works in my oil painting process. Here you’ll find information on how to pick a good brush for oil and acrylic painting, how to clean the brushes and what brands you can try to purchase the brushes from for your art studio practice.
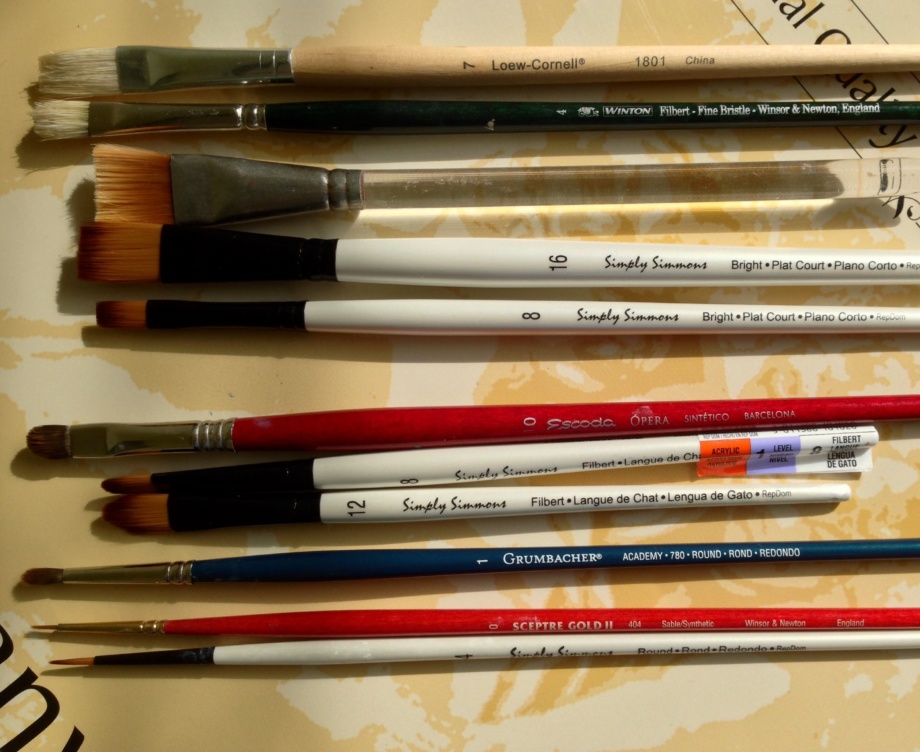
Painting brushes differ in size, shape, and type of bristles
Size
The higher the number written on a brush, the larger the brush you get. For example #0000-0 brushes are for super fine detail, # 2-4 brushes are for small work, # 6-10+ are designed for a general application of paint.
Shape
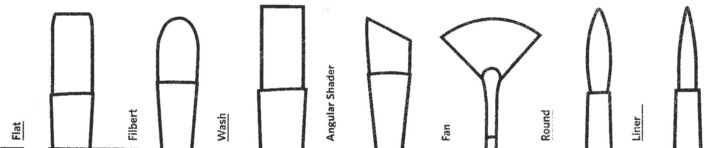
There are rounds, flats, liners, chisel tips, filberts, and fans. The shape of a brush determines the stroke you can make with it. The rounds have a fine point and are good for small, detailed application of paint, flats are for a large coverage of paint or to make a wide stroke; fans are good for gentle blending of the edges and for creation of some textures like tree foliage. My favorites are the filberts because they give me a variety of strokes. Depending on the rotation of my brush, it can give me either a flat stroke or a thin, fine line that’s great for defining and maintaining straight edges.
How to pick a perfect brush for oil & acrylic painting
Types of brushes
In general, watercolor brushes are very soft and are not suitable for oil painting. They are too soft to maintain a point filled with oil paint. However, small round Kolinsky brushes are very good for painting details, and watercolor 1″ flats are great for blending large areas of paint right after a painting session to soften the entire picture.
There are three kinds of oil/acrylic brushes: the bristle ones, the synthetic ones, and a blend of synthetic and sable hairs. Both the bristle and the synthetic ones are necessary for oil or acrylic painting.
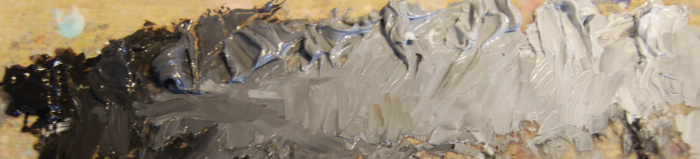
First layer of painting: the bristle brushes
Use stiffer, synthetic brushes for your underpainting because the first layer doesn’t brush over smoothly. Many artists help the oil paint flow by using some solvent ( Gamsol) mixed into the paint. Both the solvent and canvas surface wear out fine brushes using them at this step!
The bristle brushes are used in a first, rough layer of painting to put the paint on canvas and to mass out shapes. It’s difficult to paint the first layer with the synthetic ones on canvas, because they are too soft for this step and don’t spread the paint around easily. I find that major manufacturers produce similar bristle brushes that don’t differ much in quality. I would avoid the cheapest ones because they shed hairs a lot that get embedded into the wet paint, if you don’t take them out of your artwork during painting. However, If you paint on panels and not canvas, the bristle brushes may be too hard to paint with.
Second layer of painting: the synthetic brushes
When you paint with oils over the underpainting, it glides over the first layer much better but often needs just a little bit of medium to have the flow. This is the stage when you switch from stiffer brushes to the synthetic ones. I find that “Simply Simmons” brushes are cheap, over the counter brushes sold at Michael’s that are quite durable and have a nice point when painting. Craft, unbranded brushes is a waste of money because they don’t hold the paint and have no stiffness necessary to move the paint around or to make clean edges and details.
With each layer your painting becomes more refined in color and detail and so do the brushes. I use Robert Simmons oil brushes that are cheap, durable and hold the point well. I paint with #2 round and #2-4 filbert for most work. I also have #6-8 to paint larger areas. The Robert Simmons brushes’ quality is OK for its price. They don’t last for a year, but perform quite well in comparison to other more expensive brushes I’ve tried so far. I also buy them separately, if I need a particular size or a tip. Another brand I recommend is the Rosemary and Co for the majority of oil painting.
To complete big chunks of painting I like using a variety of filberts. The W&N Galeria set of brushes are great. They are quite soft but work well with oil paint.
Third layer of painting: synthetic and sable brushes
Having good brushes is critical to painting subtle transitions, texture effects and details. For detailed work, I like the Ebony Splendor by Creative Mark that are budget friendly. This brand has a variety of small brushes. However, the really good ones are by the Rosemary brushes & Co. This English company manufactures a great variety of brushes.
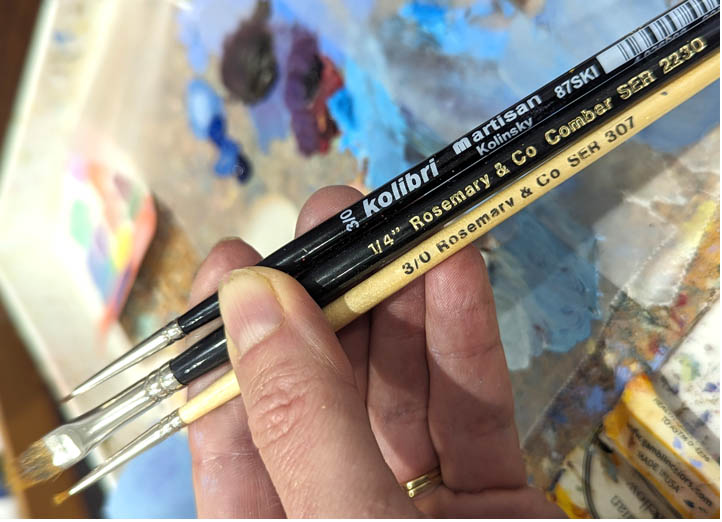
1. the Kolibri, artisan Kolinsky 3/0 sold at Natural Pigments
2. a variety of 3/0 or 5/0 Rosemary & Co oil painting brushes sold on their site, which I prefer using the most.
3. I also use a #0 liner “scepter gold II”, a sable/synthetic blend by Windsor & Newton to paint fine details.
4. Recently I found the Princeton, round, 18/0 to paint the tiny details as well but it didn’t last as long as the Kolibri one.
What about the brush handle?
I find that the brush handle length makes no difference in painting. In fact, if you do realistic painting with lots of detailed work, you want to minimize your hand movements to remain precise. I don’t see how long handles help artists do that.
I keep a wide, super soft watercolor brush (3/4 or 1″) for blending large areas to soften everything before I quit painting for a day. It doesn’t matter what brand it is as long as it’s a super soft brush like the watercolor brushes are.
If you want your brushes to keep their shape, it’s not only the quality of the hairs to pay attention to, but also how you wash them.
How to clean the oil painting brushes
If you want your brushes to last, take good care of them. Squeeze all the unused paint out of your brush, using a paper towel. I Usually, I deep them in linseed oil first and then take the paint out with a paper towel.
Then you can use a solvent like Gamsol to swish them around in a glass jar, and then wash them out with a bar soap and warm water. I skip the solvent step most of the time because of the two reasons. One reason is a plain health precaution and another one is care for my brush hairs. The solvent dilutes the paint and damages the hairs. I find that cleaning with linseed oil and a bar soap works great and makes the brushes last longer.
To sum up, I take the paint off the brush with a paper towel and use the oil to take most of the paint off. I use a soap bar to clean them after every painting session. I wipe the water off of every brush, and rest them flat on a paper towel, so the excess water doesn’t run underneath the ferrules, damaging them.
One more thing. Brushes wear out a lot faster working on textured canvases. Use lightly textured panels or linen canvases to keep your brushes like new.
Presto!
Check out video classes here: https://veronica-winters-art-school.teachable.com/ or visit my shop. Thank you for stopping by!