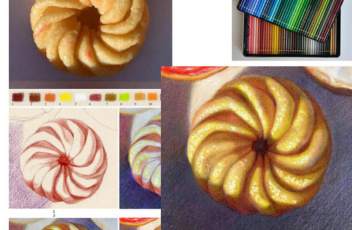
Step-by-step realistic colored pencil drawing of a donut
To learn realistic colored pencil drawing techniques, you must consider:
- drawing your subject and shapes correctly
- understanding the difference between color and value in colored pencil drawing
- making even shading
- making creative compositions
- understanding how the light turns the form
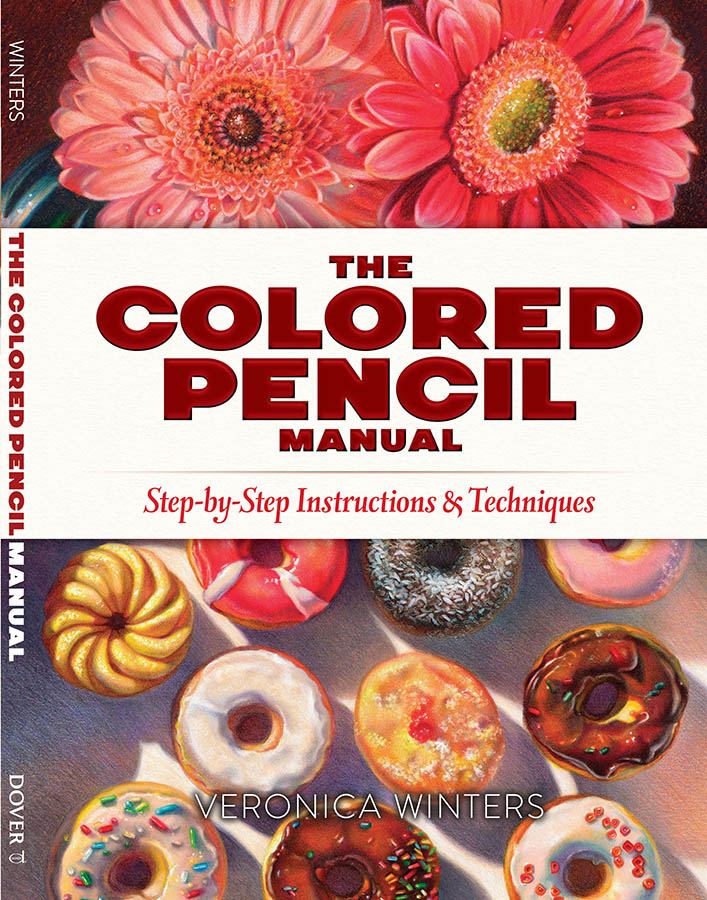
A full step by step demonstration of 10 donuts is part of my most recent art book The Colored Pencil Manual as well as my video course Complete Colored Pencil Techniques in 90 days.

In this colored pencil drawing demonstration I don’t focus on basic drawing techniques but explain how to do shading, texture and color harmony. While I lay out the drawing sequence of every donut, the artwork is completed by filling in the background first and then layering one color at a time while working on all donuts simultaneously.
By shading the background first, I create instant contrast to work against drawing the donuts.
It took a considerable creative effort to make this arrangement of donuts for the photoshoot. I wanted to balance every texture, color, and shape in one composition.
Art supplies:
- Prismacolor Premier colored pencils unless noted;
- kneaded eraser
- tracing paper (optional)
- Grumbacher final fixative, for dry media, matte
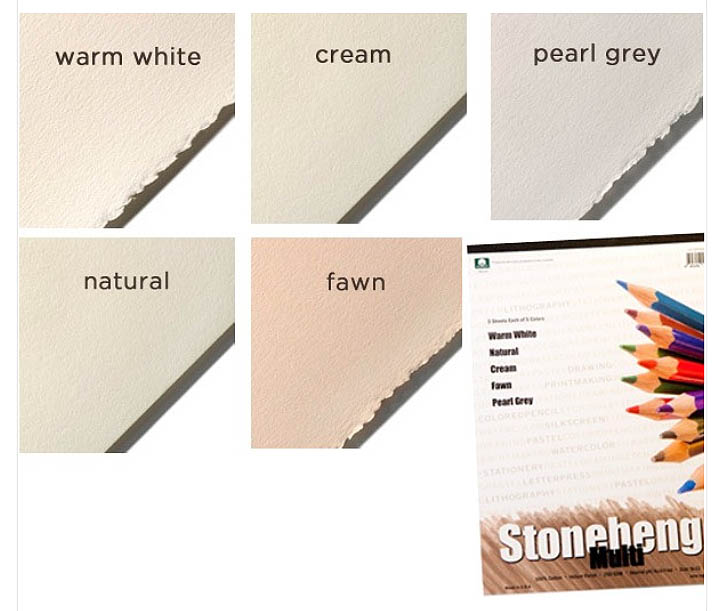
- a large sheet of printmaking paper, light gray (it can be replaced with Stonehenge Multi pad color either pearl grey or fawn). This project was completed on a very light gray printmaking paper that often doesn’t read as such in photography. It has minimal texture and the colors tend to blend on their own without employing additional blending techniques.
- Color wheel – optional
- The Color Chart is separate for each donut. In this example some of the textures are created with varied stroke applications, and Sakura Pentouch marker.

Basic colors:
Prismacolor Premier colored pencils unless noted;
1. Terra Cotta 2. Sienna Brown 3. Mineral Orange 4. (Pablo) Yellow 5. White 6. Henna 7. Artichoke 8. Chartreuse 9. Yellow Ochre 10. Yellow Orange 11. 70% Cool Grey 12. Pumpkin Orange 13. Yellow Chartreuse

Step 1
Tap all graphite lines with the kneaded eraser. It’s a light donut and graphite will show up once you begin shading. Begin drawing out the rotation of each fold with either terra cotta or sienna brown. While the color looks reddish here, it’s actually a warm brown that the author suggests you use for shading.
Step 2
Once you place the background colors (see the last two steps for instruction), you set the contrast to begin working on the donut. With a sharp point, place random white spots and shade around them with Pablo yellow. Add mineral orange into the brown to warm up the color.
Step 3
With every new step, you keep defining the edges to preserve the correct rotation and clarity in each section. You also work in short, directional strokes on every section to create volume. For that you need to keep rotating your drawing paper as you shade, so the strokes wrap around the forms and don’t become too linear.
Define the brown edges with henna and fill them in with this color in light pressure. Add warm, light greens—chartreuse and artichoke—shading around the yellow to create value transitions between the dark (browns) and the light (white). You shade from white to yellow to chartreuse to artichoke. After that the shapes turn to orange-brown shadows (that you’ve already done).
Step 4
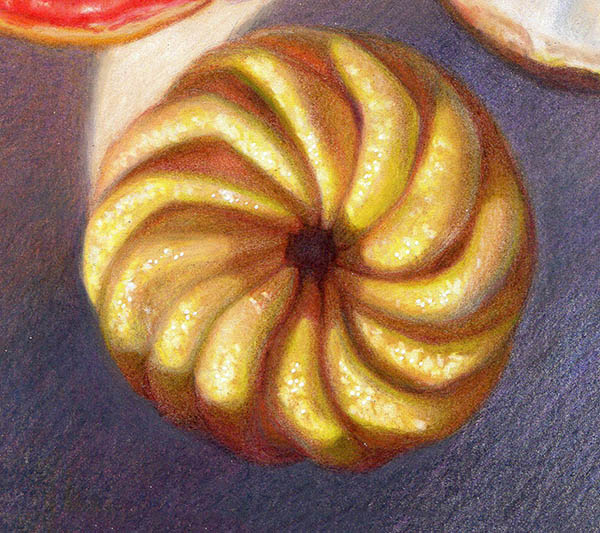
Once the basic pattern of light and shade is in place, you can add variations to the colors seen in the light. The artist shades with yellow ochre, yellow orange, pumpkin orange, chartreuse, and Pablo yellow. Most of the time it is simply layering the same colors over and over again until the right contrast and volume are achieved. Add 70% cool gray into the form shadow in every section.
Texture: Reinforce the texture with white for small dots in the light and add just a few tiny highlights on the left side with the Sakura PenTouch
Don’t forget to use a final fixative on your colored pencil drawing. Spray it outdoors in a low-humidity environment. Wear a mask to protect yourself from harmful vapor.
 |  |