Crucial colored pencil shading techniques
If you aim to create photorealistic colored pencil drawings, you need to master the fundamental drawing concepts, which include colored pencil shading. Whatever subject you draw in colored pencil, it’s important to control your pencil pressure to achieve a realistic result.
Pencil pressure
For instance, when you press on your pencil very lightly, you won’t be able to achieve rich darks or create enough contrast in colored pencil drawing. At the same time, if you’re heavy-handed, your drawing may become too muddy or overworked quickly. So it’s all about finding that perfect balance in colored pencil shading.
You do need to increase your pencil pressure in colored pencil drawing when:
- You try to blend some areas with light pencil shading over the dark layers
- You blend the areas around the highlights
- You want to build up contrast in progression
- Or when you work on textured paper and have to do lots of filling of the paper’s tooth.
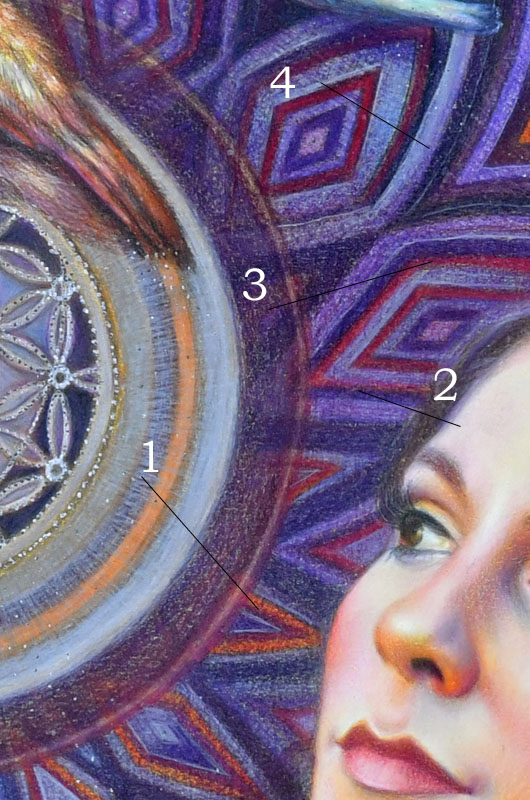
#1 I shaded with a white colored pencil over the dark area using a unique stroke to create the texture I wanted. While some dark is showing through, I applied the white colored pencil with medium pencil pressure.
#2 I did a lot of shading with colored pencils on the light side of her face, using a very heavy pencil pressure to raise the lights as much as possible. The white colored pencil sits on top of all the other light colors I shaded with there.
#3 I shaded with a light pencil pressure to create that purple circle so that some previous layers still show through it.
#4 I used a very light grey colored pencil to shade over the purple with heavy pencil pressure. It lightened up and blended the area.
Colored pencil techniques: colored pencil shading in white and off-white colors
When you work on your colored pencil shading using heavy pencil pressure, the area becomes very waxy and so filled with the pigment that you can’t layer more color over it. That’s the desired outcome. However, if you feel like you want to add even more color to that area, spray it lightly with a fixative. Wait for it to dry and shade over it again.
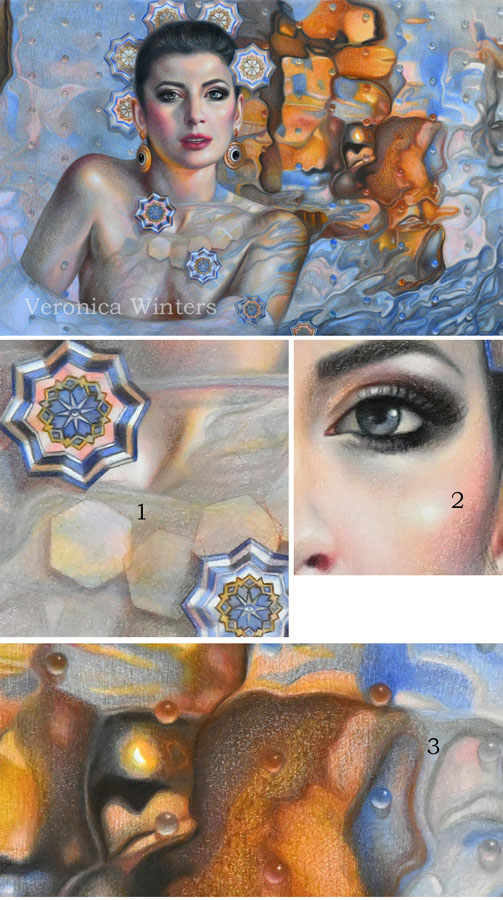
#1 I used a white colored pencil and medium pencil pressure to lighten up the geometric shape. It also blended it.
#2 I used a very soft white colored pencil (Luminance or Prismacolor Premier, or Pablo) to shade around the highlight, leaving the highlight itself uncolored. If your colored pencil is hard, this kind of blending is difficult and incomplete.
#3 I used a soft, light grey colored pencil and a very heavy pencil pressure to blend the area shading with colored pencils.
I hope that this article helps you in your creative colored pencil drawing and you also find some new colored pencil drawing ideas. Controlling your pencil pressure shading with colored pencils is a must. So next time you draw, pay attention to how you press on your colored pencils and observe what results you’re getting. If you’d like to learn more about colored pencil drawing, check out these art books or watch my free videos on YouTube. You may find your answers there. 🙂
 |  |
Art supplies on Amazon
- Drawing pad, bristol vellum
- Kneaded eraser
- koh -i-noor drawing paper, colored pencil
- Tombow mono eraser
- Drawing fixative
- Sennelier fixative for charcoal and pencil has a super fine spray mist, matte, high-quality
- Gamvar varnish for oil paintings, satin
- Brush for varnishing oil paintings
- Color Wheel
- Canson Colorline drawing paper is available in many colors and various thickness. You might find better choices at art supply online retailers
- Molotow metallic marker, gold
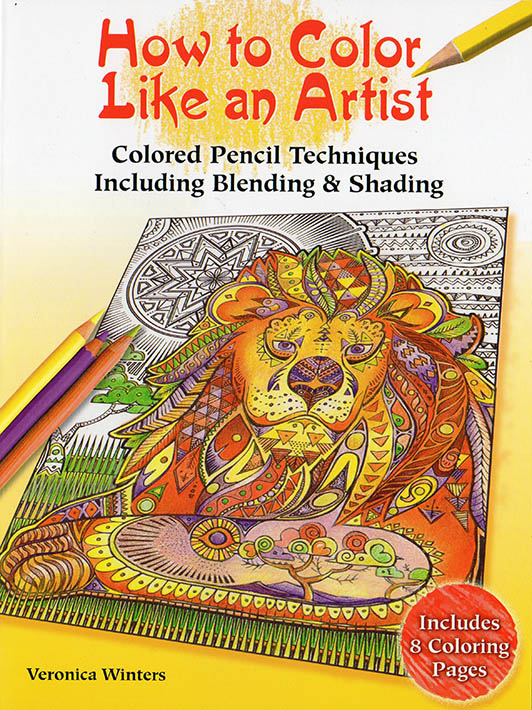
- How to color like an artist, coloring book for children and adults
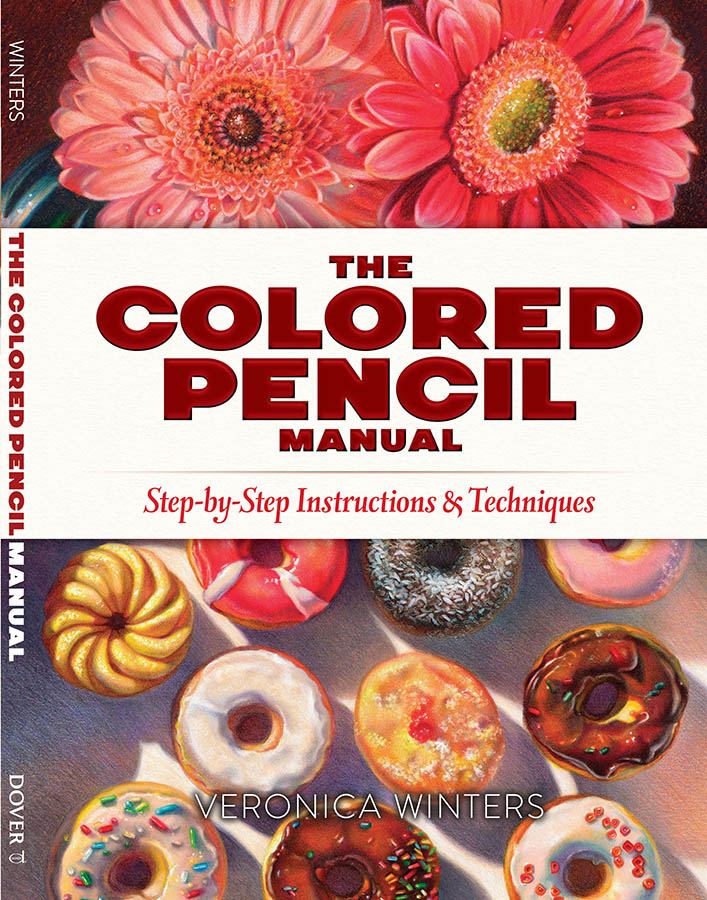
- The colored pencil manual, art instruction book
If you’d like to connect with me: