What is scratchboard art?
Scratchboard art is a type of engraving that uses a sharp tool to scratch away black surface to reveal a white color. This process of scratching the surface results in high contrast scratchboard art that has sharp lines and details. Scratchboard art can be used to create a variety of images, from realistic portraits of animals to abstract designs.
I’m self-taught at this scratchboard technique and I did a lot of scratching to figure out the nuances drawing on black. I also did a lot of scratchboard art with children. They absolutely loved the results! Every kid wants to draw a portrait of his pet and scratchboard art is a perfect medium to create stunning pet portraits! The only concern I have is the sharpness of the blade that you must educate your students about. Please watch your student working with sharp tools at all times! Let’s dive in.
How to make scratchboard art: art supplies & tools
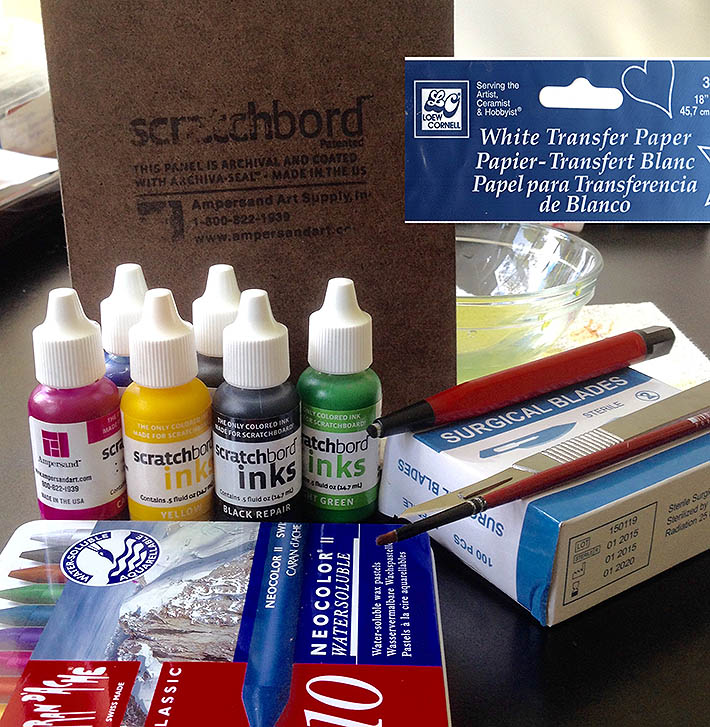
To start scratchboard art, you will need a scratchboard, a sharp tool, white transfer paper and a photo reference. Scratchboards are available for sale in a variety of sizes and colors in online stores like jerrysartarama, dick blick, cheap joe stuff, etc. The most common type of scratchboard is black, but white and gray scratchboards are also available. The sharp tool can be a variety of things, such as a scalpel or X-Acto knife. I do most of my scratcboard art with one scalpel using replaceable blades!
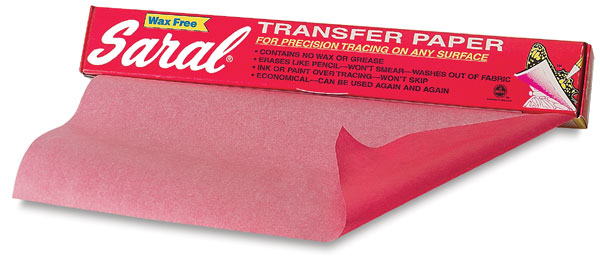
You also want to create an outline image of your design to transfer onto the black surface. You could either transfer the lines direct from a photo or transfer the sketched image. I don't recommend drawing direct on the black surface of scratchboard because erasing is difficult and alters the surface. You can use white or off-white colored pencil to map out the outlines, however without using the transfer paper.
What tools do you need for scratchboard art?
- Ampersand scratchboard, 5×7″ or larger. I recommend starting small because it’s a very time-consuming medium.
- Also buy any off-white or white transfer paper, such as Loew-Cornell white transfer paper or Saral transfer paper.
- Have a ballpoint pen for image transfer.
- Masking tape to hold the image in place.
- Buy the #11 scalpel blade on Amazon. I bought one scalpel with a box of replaceable, surgical blades.
- Use a red pen ( in the Ampersand kit, but it’s also sold separately online).
- Have a final spray fixative (I strongly recommend to use the Grumbacher or Sennelier, matte finish. It not only protects your scratchboard art but also gives it a very nice, sheer surface that enhances the drawing.
- Ampersand scratchbord inks are highly-pigmented inks that will last forever. You can also experiment with other coloring materials, such as Caran d’Ache neocolors.
I’ve tried several different scratchboard art tools. I found that the line quality greatly affects the overall intricacy or beauty of the finished artwork. At first I bought the Ampersand tool kit that gives options in creating various types of lines and textures. The scratchboard drawing resulted in lines that looked too rough or incomplete for my liking to continue using this kit.
Therefore, I also experimented with the X-Acto knife, trying to thin out the line using this tool. The X-Acto knife gave me more control over the scratching process but the blade dulled quite quickly and I had to replace it often.
Next, I went for the etching needle that I used for etching printmaking plates in my printmaking classes. I find that the etching needle gives me a much finer line and better control over the entire process, but just like the X-Acto knife it often produces deep, unnecessary groves that are hard to mask, if they become a mistake. Remember, once you cut, it’s there, and no eraser is going to fix a problem (there is a trick to cover up the small mistakes though). Finally, thanks to Diana Lee’ advice, I bought the best scratchboard tool you need to produce super fine lines – a scalpel with #11 surgical blades. It sells on Amazon. The line quality is superb! It cuts nice and thin. And the dull blades are fairly easy to replace. It’s the only tool I use for most of my scratchboard art drawing!
How to make scratchboard art: scratchboard techniques
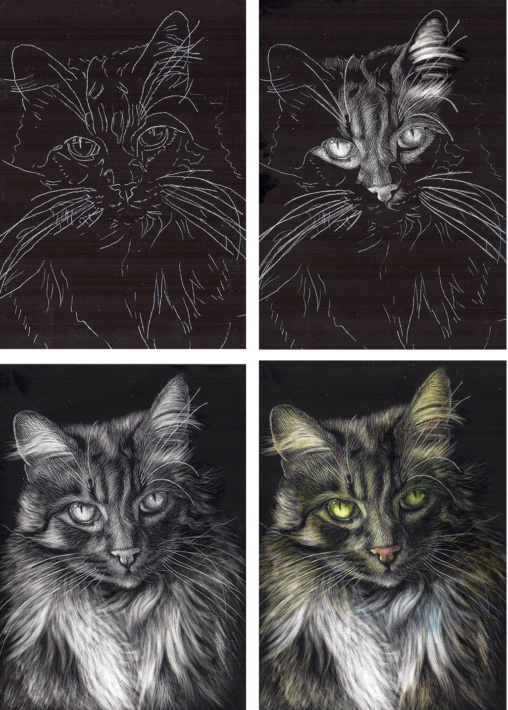
Once you have all your art supplies for scratchboard art, you can begin creating your scratchboard art. The first step is to create a preliminary drawing on a separate piece of paper, not on the scratchboard itself. This can be done with a pencil or pen. Once you like the sketch, transfer it onto the scratchboard using white or yellow transfer paper.
Pick the right photo for your scratchboard art project!
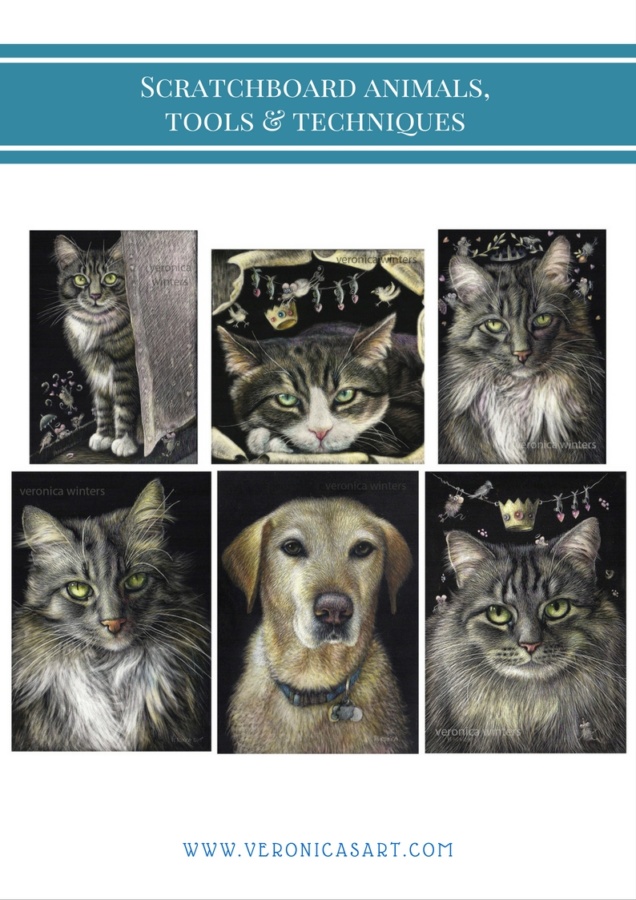
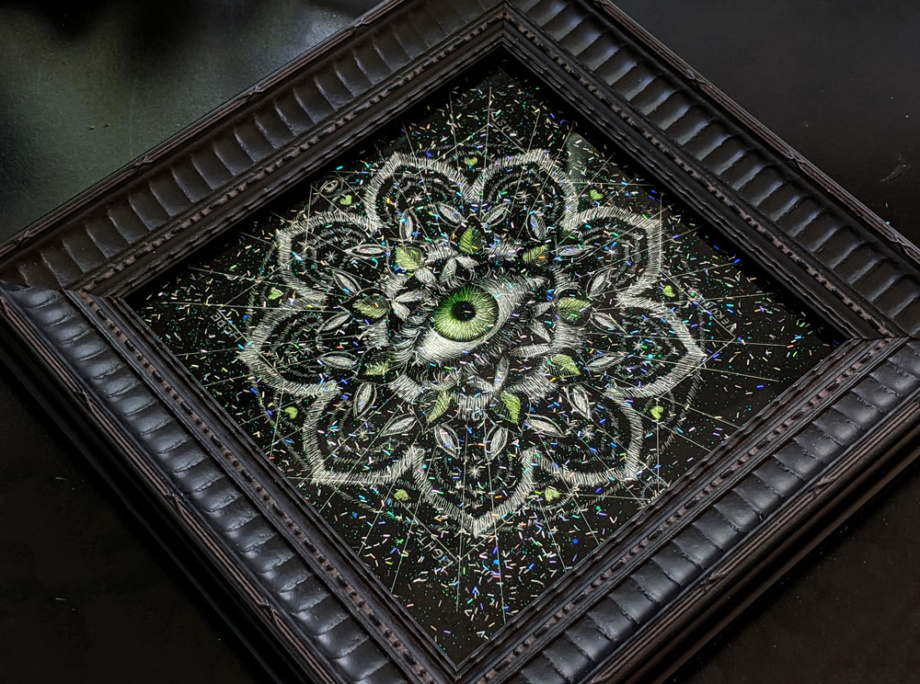
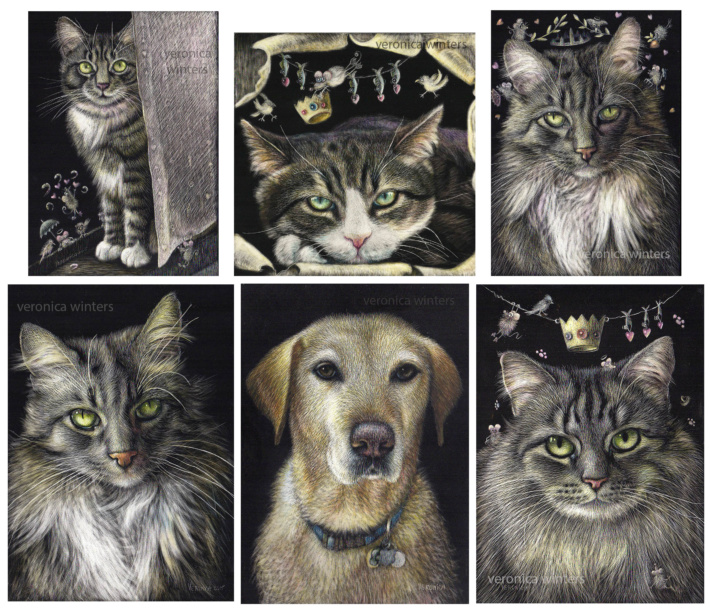
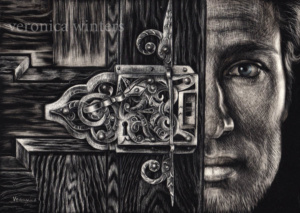
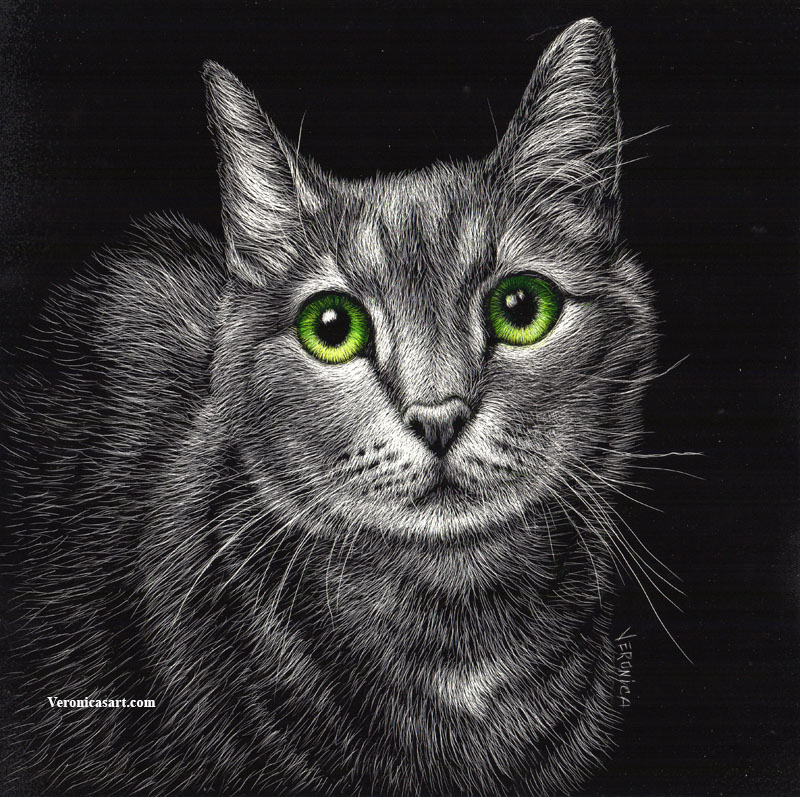
I’ve done scratchboard art of different subjects, including animals, portraits, feathers, still life objects, fantasy art and mandalas. Making scratchboard animals can be a lot of fun. I find that the subjects that have a lot of texture are the easiest to create. If you have an object with a very smooth surface, it’s a lot harder to scratch it out or to make a range of tones or to make it look 3-D. It’s possible but it requires a lot more experience in understanding of the medium. So start with an art project that has lots of texture in it.
Despite the slowly evolving image, the realism and striking contrast you can achieve with scratchboard art is amazing! Consider taking a photo reference with a clear view of light and shade (lights and shadows). Start with a simple closeup. You can do a one-object scratchboard still life or a closeup of scratchboard animal. I like drawing eyes, wood, fur, etc.
It’s a slow process that you can’t rush. Begin by scratching the soft clay off of the black board with a needle or a scalpel to reveal the white. By overlapping the scratches, you can create a range of tones (values) on the surface that may appear very white or somewhat white. If you want to create a colored scratchboard art, you end up scratching differently and in more layers. There is no way of knowing how much or how little to scratch out beforehand as it’s a learning experience.
To fix the mistakes in scratchboard art:
To cover up the small mistakes or small scratches you don't want to have in your final piece, use black colored pencil or black ink. Just shade with it over your white lines to cover them up.
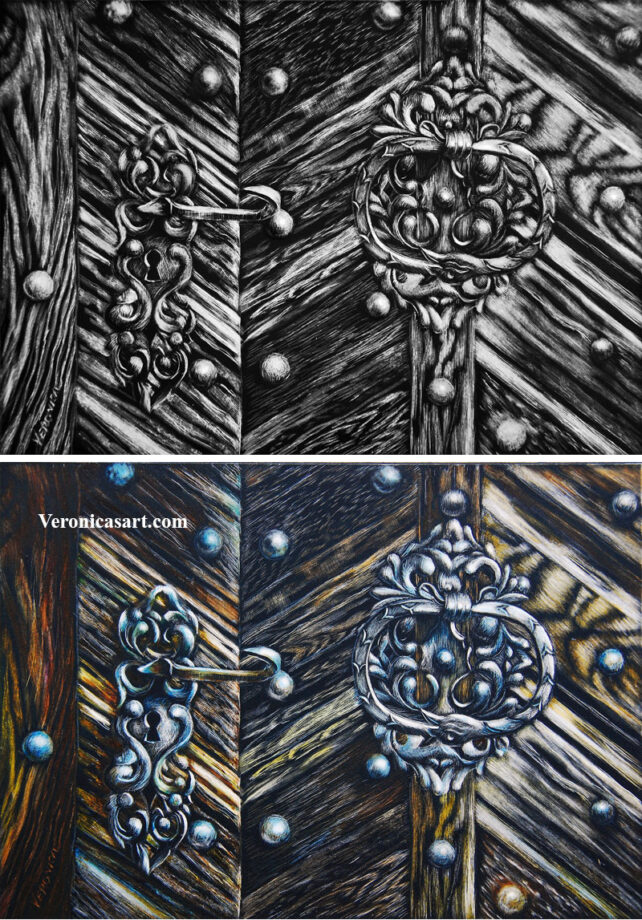
Scratchboard art techniques: coloring the scratchboard art
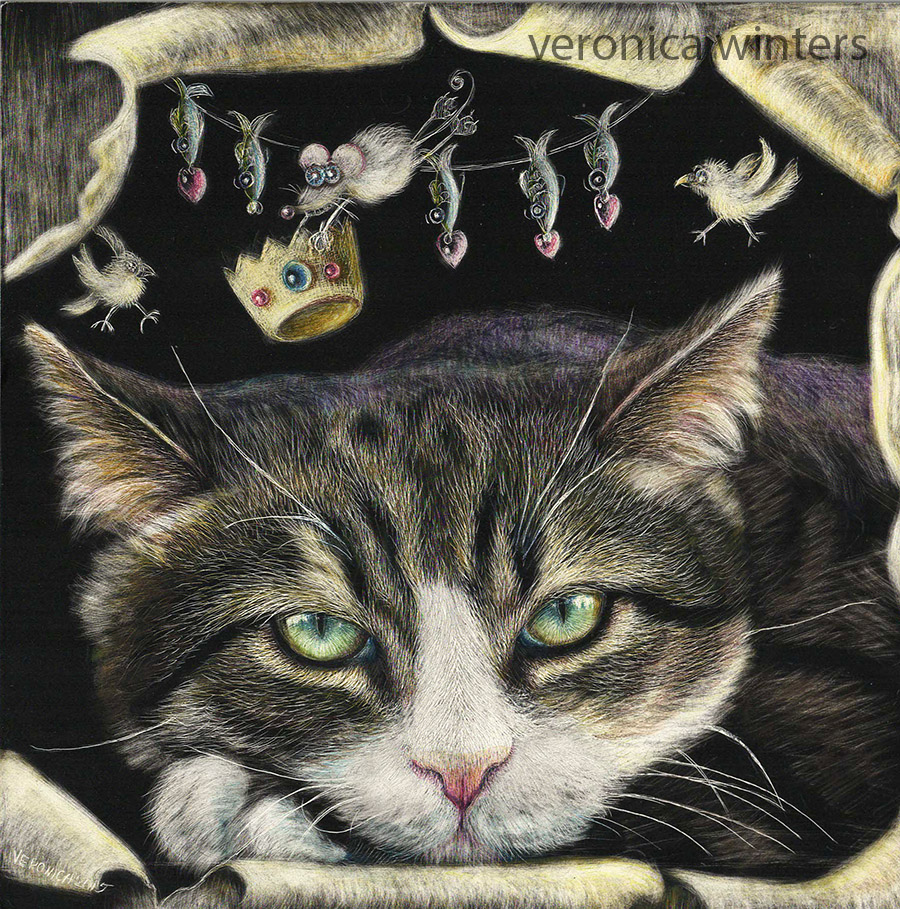
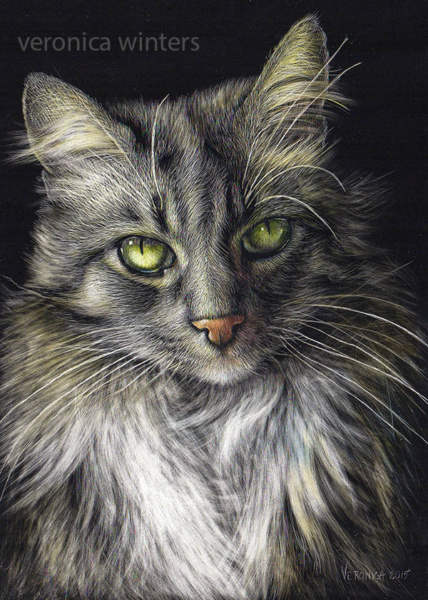
Coloring the scratchboard is not easy. The applied colors over the first scratched layer look very harsh or garish, and in order to make them weaker and more sophisticated you have to scratch the colored layer out some. Then, re-apply the color and scratch again. This process involves lots of trial and error to understand how color works in scratchboard. If you just start out, do a couple of pieces in black-and-white only to practice your tones, and then experiment with the use of color by coloring one element in scratcboard art. In the picture below you can see how I colored the eyes only in this scratchboard portrait.
Scratchboard for beginners: coloring
I usually use several art supplies to do the coloring on my scratchboard. The professional Ampersand ink set will last you a lifetime. The advantages to using this set are supreme lightfastness, high color intensity, transparency, and ease of storage. The disadvantages include a fairly high cost, fast drying time, and problematic coloring.
Although the kit includes a note with the color mixing tips, coloring is far from easy mixing. Colors dry very fast, so fast they are impossible to remove if applied too thickly or by accident. You must be patient to learn to dilute them with water just enough to get better control in the application process. As they dry fast on a palette too, quick application of the right color combination is necessary, and that requires planning and experience. I usually use a clean soap trey where I put some water and add the ink to it. The diluted ink is much easier to control and apply on scratchboard.
I often use the lightfast, water-soluble Neocolor crayons manufactured by Caran d’Ache. I also dilute them with water and mix them with a brush, but they have a much slower drying time and thus give me more control over the color mixing itself. Some lightfast Pablo colored pencils are also good, and are the easiest to use coloring the scratchboards.
I learned through my mistakes that coloring of the scratched surface is not the end result. Because the first color layer looks crude, this surface requires more scratching and re-coloring. This requires planning and understanding how much to scratch out to color and then to recolor to build up the juicy hues and textures in scratchboard art. 🙂
Fixatives for the scratchboard art


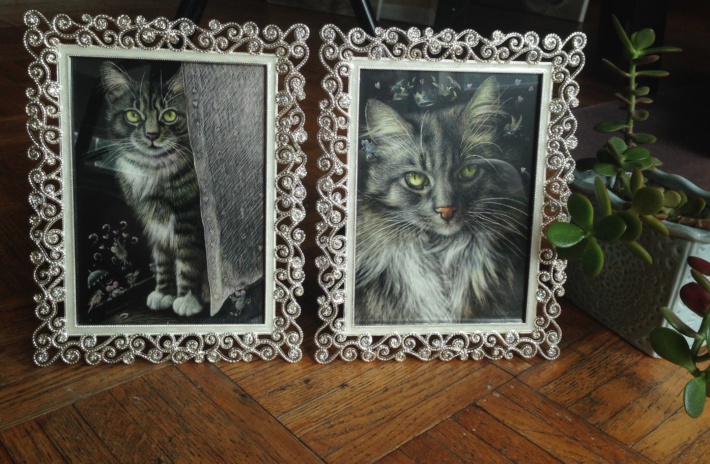
I accept scratchboard animal commissions drawing your favorite pets. The cost of a 5×7” archival, framed scratchboard art is $350 with the frame. I draw from high-res. pictures you email me. Contact me for details at nika@veronicasart.com
- Drawing pad, bristol vellum
- Kneaded eraser
- koh -i-noor drawing paper, colored pencil
- Tombow mono eraser
- Drawing fixative
- Sennelier fixative for charcoal and pencil has a super fine spray mist, matte, high-quality
- Gamvar varnish for oil paintings, satin
- Brush for varnishing oil paintings
- Color Wheel
- Canson Colorline drawing paper is available in many colors and various thickness. You might find better choices at art supply online retailers
- Molotow metallic marker, gold
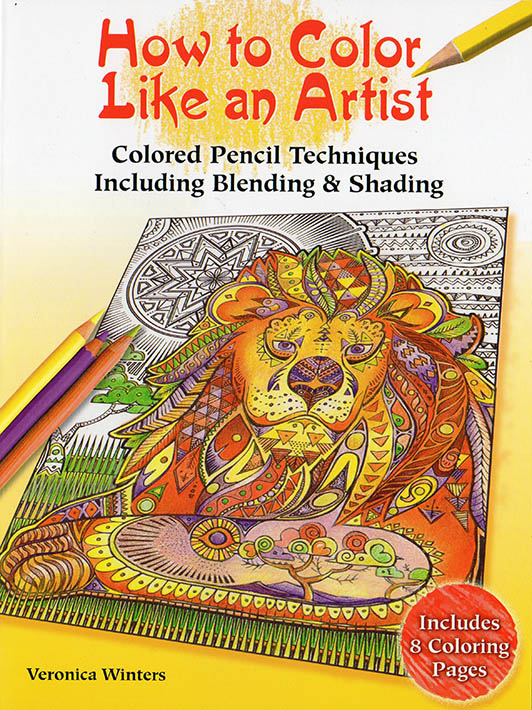
- How to color like an artist, coloring book for children and adults
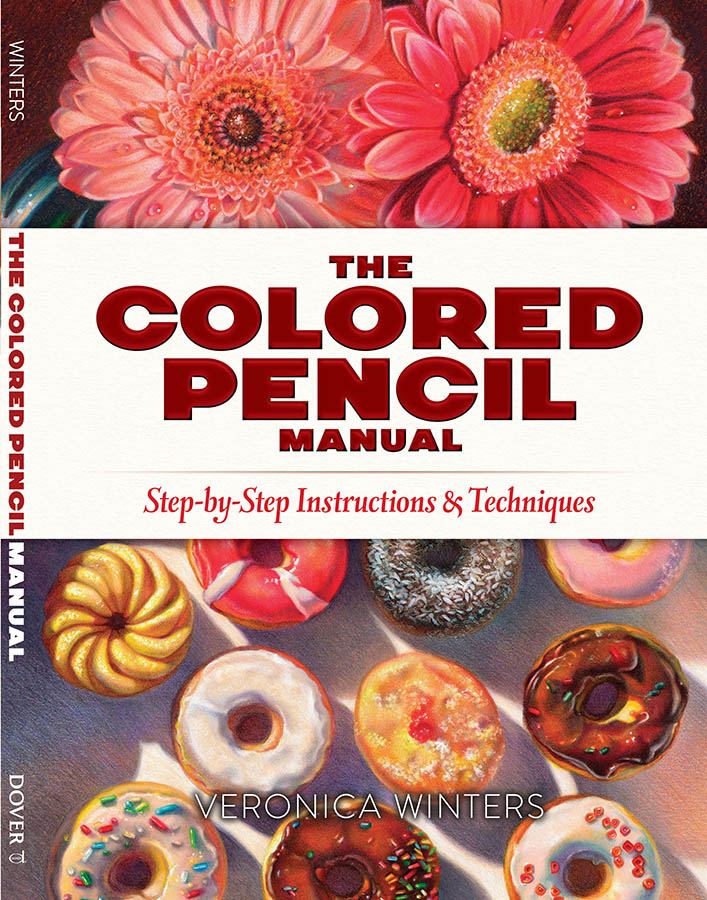
- The colored pencil manual, art instruction book
 |  |